
So, I've found over the past couple of years that it's hard to keep up with scrapbooking four kids that came into our family in rapid succession. I've given up the notion of staying "caught up" and just try to have fun with documenting every day moments and special little bits of our kids' personalities. Part of that is recording their cute little quotes and trying to get down things in their own words, so we can look back on their kid-isms when they're older. But, I don't have a good way of doing this, so this is what I've been doing:

Grabbing whatever piece of scrap paper I can find and quickly jotting stuff down and adding the date. Then throwing it on my desk.
Not a great long term solution. So when I saw this, I was inspired to make a similar album to hold little papers with my kids' quotes, so I can keep them all together until they can be scrapbooked. I started out with my Envelope Punch board and a couple of sheets of Notable that I cut down to 6x6 (the correct size to make 3x4 envelopes)

I started out by making envelopes with the punch board, but adhered them sideways, so one of the shorter sides made the open flap.

Then I used my Tab punch to make little tabs with each of my kids' names on them, and adhered them to the back of the envelope.

Next, I ran a little bit of adhesive to the very bottom/back of each envelope and adhered them each on top of the other. I grabbed a sheet of Notable, and cut it down to a 3.5x10.5 strip. I scored at the 4.25", 4.75" and 9 inch mark, then adhered the stack on envelopes inside the scored cover, like so:

Now, for the closure: I wanted to make one of those string closures like you see on accordion folders, so I grabbed my Crop-a-dile, a couple of eyelets, 2 die cut circles (from Lawn Fawn's Tag You're it), and some WRMK twine.
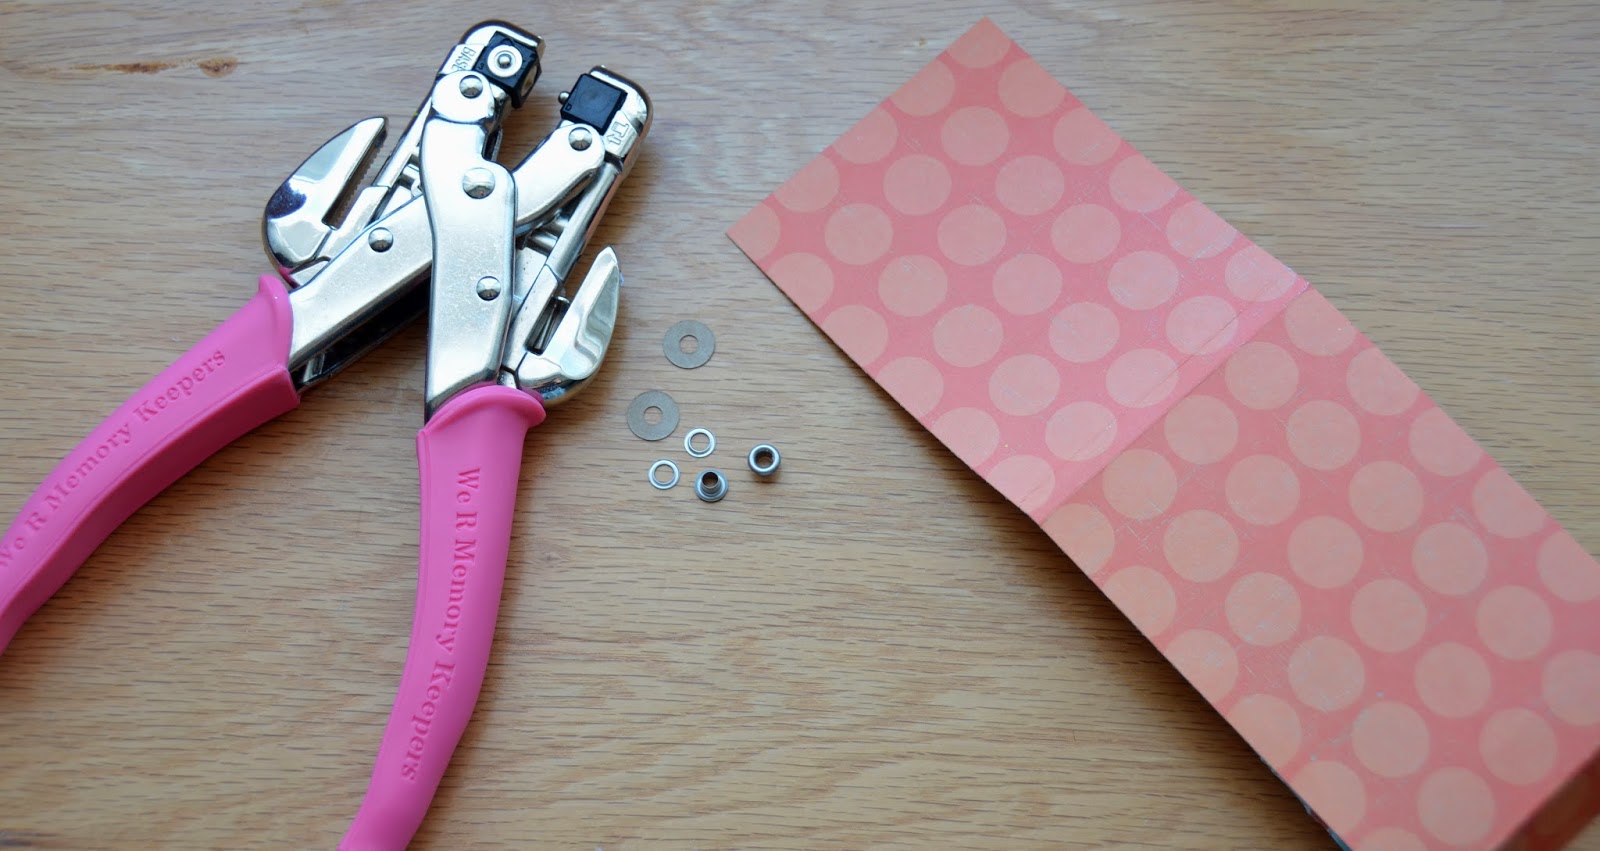
Starting with the flap, I used the Crop-a-dile to punch a hole, then strung the twine through the hole, and put the die cut circle on top.

Then, punched it all together with the Crop a Dile and eyelet:

And did the same thing with the other side of the album cover.

I would recommend that when you set the eyelets, you don't squeeze too terribly hard. You don't want the eyelets set so tightly that you can't wrap the twine around the paper circles.
And lastly, I decorated the cover using lots of Notable goodies

And there you have it! A cute and handy way to keep all of those little memories preserved! What else can you use this little album for? I bet there's lots of different uses! Coupons, recipes?
Come back to tomorrow to see a cute layout I made using Notable!
que album mas original
ReplyDelete